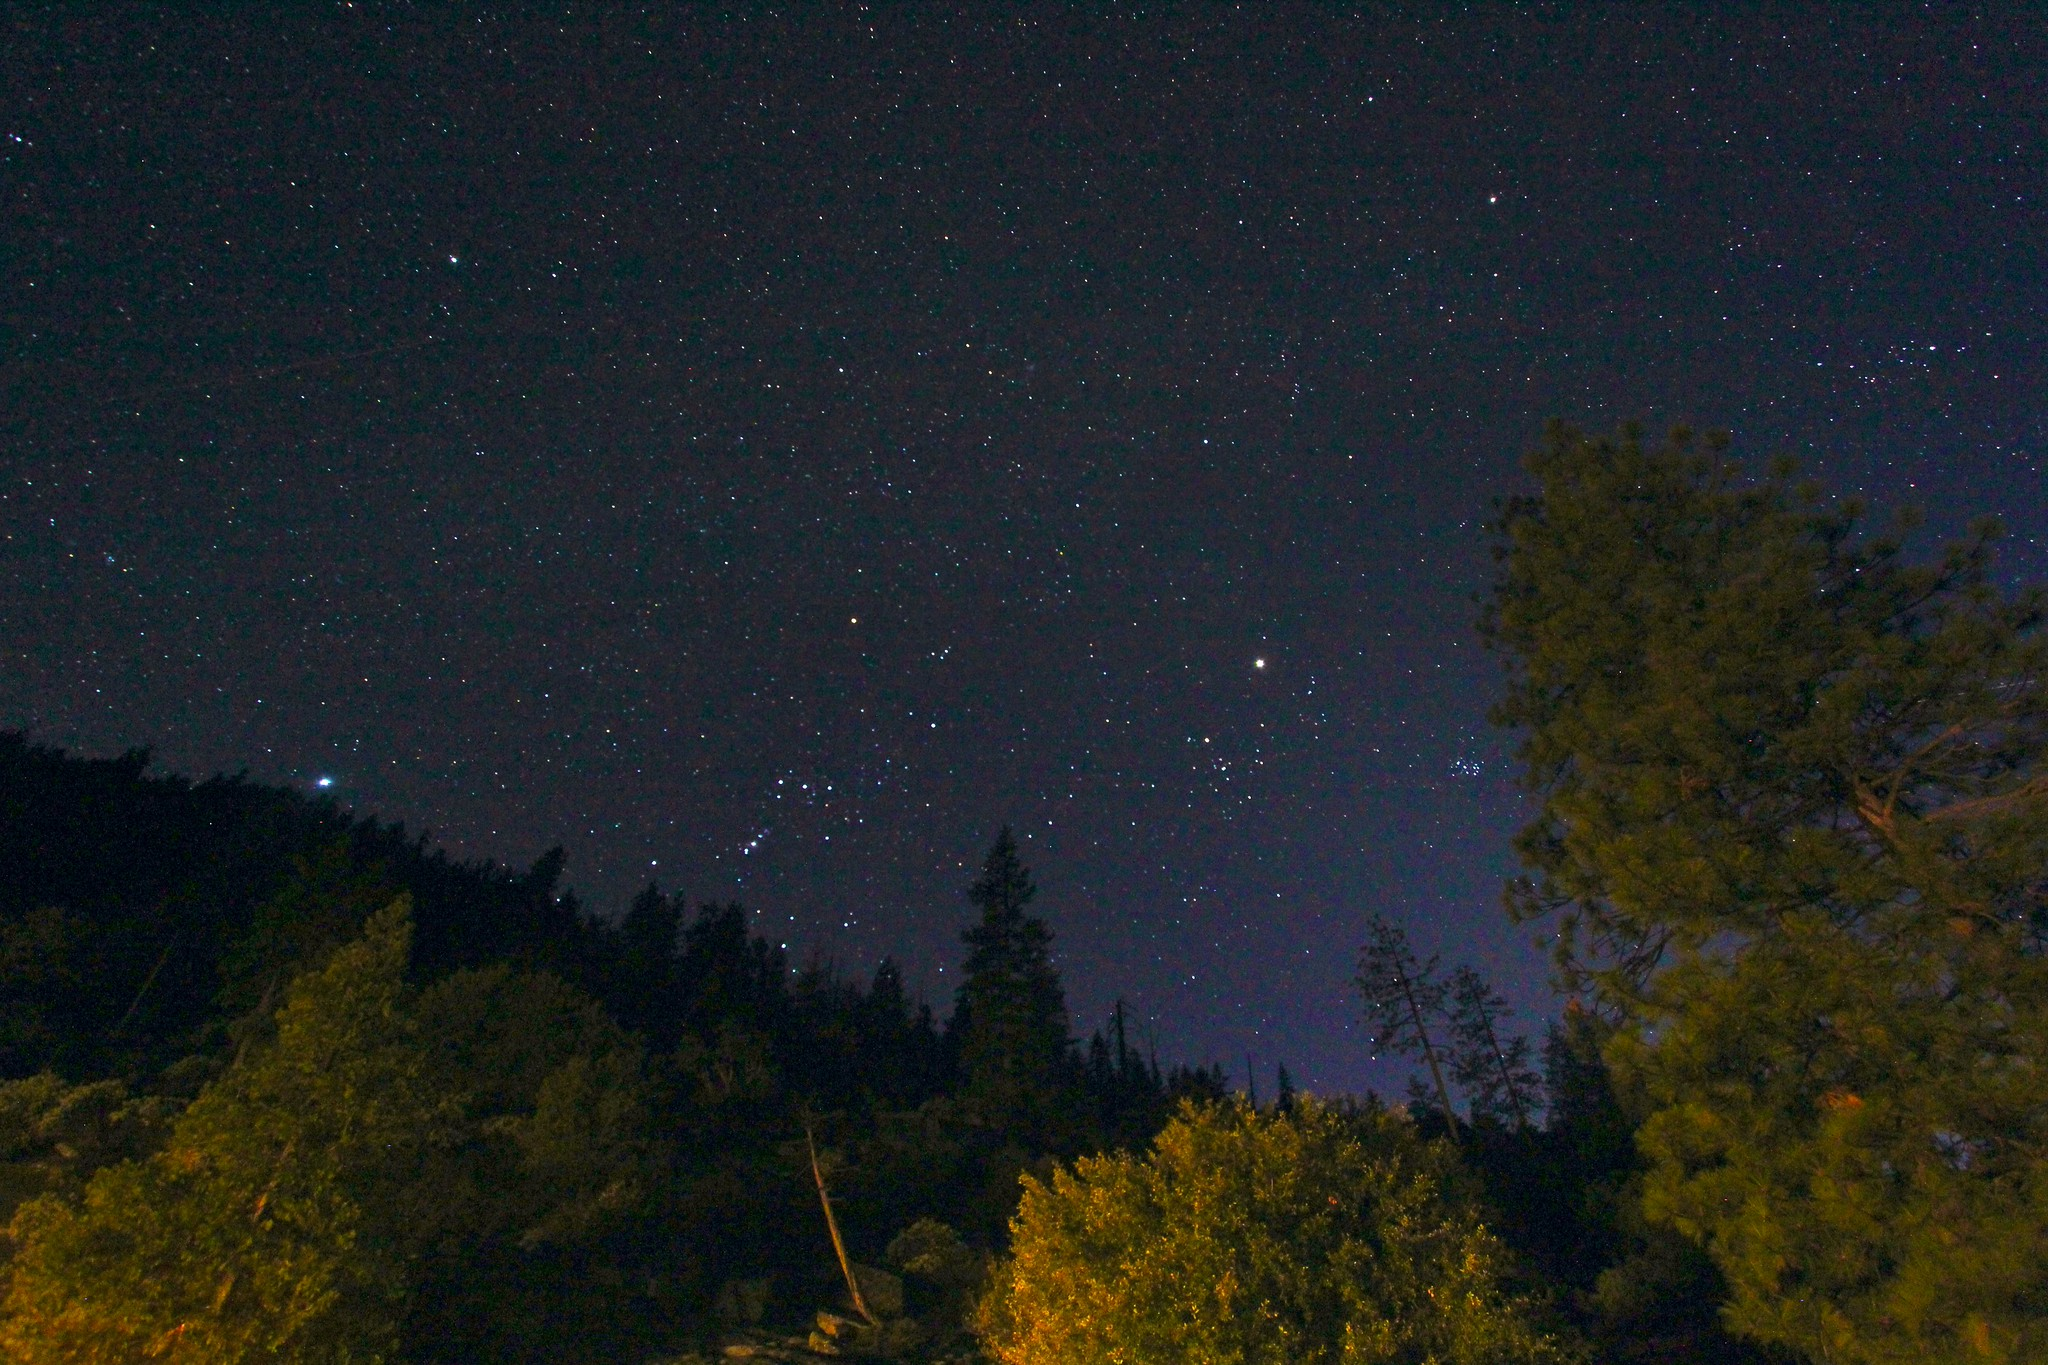
This post contains affiliate links. As an Amazon Associate I earn from qualifying purchases. If you click a link and make a purchase, I may receive a small commission at no extra cost to you.
If you’ve done some stargazing you probably know the feeling. You’re out in the backyard, it’s dark, it’s quiet, and you’ve just spotted a target overhead.
So you tilt your head back. Then a little further back. Then further still, until you’re basically staring straight up at the sky with your mouth hanging open. Three minutes later your neck is screaming, your back has filed a formal complaint, and you’re wobbling all over the place.
Welcome to the world of the zenith.
It’s one of the most important points in the entire sky but also one of the most awkward to deal with.
What Exactly Is the Zenith?
The zenith is the point in the sky directly above your head. Not sort of above you. Not mostly above you. Perfectly, mathematically straight up — a 90-degree angle from the ground beneath your feet.
If you drove a spike straight down through the Earth from that point, it would emerge on the opposite side of the planet at what’s called the “nadir.” But forget the nadir. We’re astronomers, so we look up.
Your zenith is personal. Someone standing a few miles away has a slightly different zenith, which would be their own patch of sky directly overhead.
As the Earth rotates over the course of a night, your zenith stays fixed relative to you, but the stars stream through it one by one.

Running straight through your zenith from the horizon due north to the orizon due south is an imaginary arc called the meridian.
When a star crosses the meridian, it hits its highest point in the sky for that night. That crossing is called a transit.
The zenith sits at the very top of the meridian, so a transiting object only passes directly overhead if its position in the sky happens to match your latitude.
Most objects transit somewhere between your zenith and the horizon. But the higher the transit, the better the view. We’ll come back to exactly why that matters in a moment.
Where Does Polaris (the North Star) Fit In?
Here’s something that trips up a lot of beginners: you’ve probably heard that Polaris, the North Star, sits directly overhead.
Unless you happen to be standing at the North Pole, it doesn’t.
For most of us in the mid-latitudes of the northern hemisphere, Polaris sits roughly at the same angle above the northern horizon as your latitude.
If you’re at 40° north, Polaris is about 40° above the horizon, due north. That’s comfortably up, but still well short of the zenith. Remember, the zenith is at 90°.
What does sit near your zenith depends entirely on where you live and what time of year it is.
From mid-northern latitudes, brilliant summer targets like Vega — one of the three stars forming the Summer Triangle — can pass almost directly overhead. In winter, Capella does something similar. The sky wheel turns, and different wonders roll through that sweet spot above your head.
The Atmosphere Is Thinnest Right There — and That’s a Huge Deal
This is the part I really want you to burn into your brain, because it changes how you plan observing sessions.
When you look at anything in the sky, you’re looking through the Earth’s atmosphere, which is a blanket of turbulent, moisture-laden, light-polluted air.
Near the horizon, you’re looking through an enormous thickness of it, at a shallow angle. Stars near the horizon twinkle violently, blur, shimmer in false colours, and generally misbehave. It’s like trying to read a sign through a swimming pool.
The higher you look, the less atmosphere you’re peering through. And at the zenith you’re looking through the minimum possible column of air. Everything is sharper. Contrast is better. Stars hold their shape. Planets show finer detail. The sky background is darker even from a light-polluted site, because you’re cutting through less of the glow that floods in from low angles.
For visual observers, objects near the zenith will almost always show you their best. For astrophotographers, this matters even more. Every degree of altitude gained toward the zenith means less atmospheric distortion, less differential refraction bending your image, and better chances of pulling out fine detail.
Experienced imagers schedule their targets to be captured as close to their transit (their moment of maximum altitude) as possible, precisely because that window of minimum atmosphere is when the data is cleanest.
If a showpiece object is riding high overhead tonight, don’t scroll past it on your planning list. That’s the moment to look.

The Awkward Truth: Actually Looking Up There Is Hard
All of this is wonderful in theory. In practice, looking at objects near the zenith is physically uncomfortable in ways that nobody warns beginners about.
With a standard refractor or Schmidt-Cassegrain pointing straight up, your eyepiece ends up somewhere below the telescope, aimed at the ground. You’re forced to either crouch, lie down, or perform some frankly undignified contortion to get your eye in place. Even at 60 or 70 degrees of altitude, the geometry is already turning awkward.
The solution is a star diagonal — a mirror or prism that bends the light path by 90 degrees before it reaches your eye, so you can look into the eyepiece from a comfortable side angle rather than from directly below.
Most refractors and catadioptric telescopes (SCTs, Maksutovs) support these natively, and for many users, a quality 99% reflectivity mirror diagonal is something they leave attached permanently. It makes high-altitude viewing dramatically more comfortable, and it also helps with targets that are merely high rather than directly overhead.
What about Dobsonians?
Here’s something that surprises people: a Dobsonian is actually one of the more comfortable telescopes for zenith objects. Because the focuser sits at the top side of the tube, when you swing the scope overhead it lands at a natural, easy-to-reach position.
The one genuine nuisance is the finder scope, which points straight up along with everything else and becomes genuinely awkward to use. A right-angle finder largely solves this just like a star diagonal on a refractor. Just remember they can flip things around so can be a little tricky visually.

A Few More Things Worth Knowing
Meridian flips
If you ever move up to a motorized equatorial mount, you’ll encounter the concept of the meridian. Remember, it’s an imaginary line running due south through your zenith and down to due north.
Equatorial mounts track objects beautifully as they approach the meridian, but they have a physical limit: they can’t track past it without flipping the telescope to the other side. This so-called meridian flip is an automatic part of modern goto mount software, but understanding that your zenith sits on the meridian helps you understand why it happens.
Zenith angle vs altitude
You’ll sometimes see objects described in terms of their zenith angle rather than altitude. They’re measuring the same thing from different directions: an altitude of 70° is a zenith angle of 20°. Neither is wrong; it depends on what the software or chart is optimized for. Just know they refer to the same geometry.
Plan your imaging around transit time
Many planetarium apps will show you the transit time for any object. This is the exact moment it crosses the meridian and reaches maximum altitude.
When you’re planning a night’s imaging, sort your targets by transit time and schedule them so you’re capturing during or just around that window. Even an extra 10° of altitude over the horizon can make a meaningful difference to your final image.
Collimation feels different at extreme angles
This is subtle but real: if your Newtonian or Dobsonian is slightly out of collimation, you may notice it more on zenith objects than on targets lower in the sky, simply because you’re seeing the star at its sharpest and the optical flaws have nowhere to hide. Let it motivate you to keep that mirror aligned.
The zenith is where the sky does its best work. The atmosphere is thinnest, the seeing is at its finest, and whatever is up there is showing itself to you without the blur and glow that muddy everything near the horizon. Yes, your neck will get involved. Yes, you might need a step stool or a diagonal or an impromptu camp mat. But that brief window when something brilliant is riding straight overhead is a window worth chasing.
Get started in astronomy
If this has you fired up to get out under a dark sky, the next step is making sure you have the right telescope to bring with you. Not sure where to start? I put together a free PDF telescope cheat sheet that breaks down exactly which scope might be right for you, the specs that actually matter, and how to figure out your budget. Grab it — it’ll save you a lot of second-guessing before your first real dark sky night.