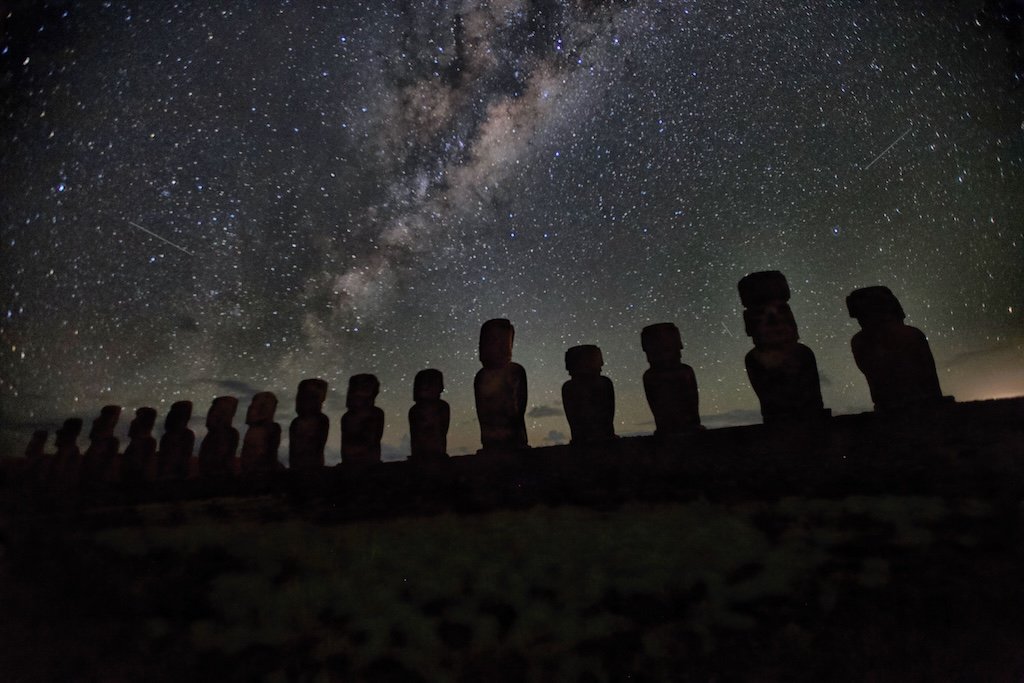
Below are the basics you need for dark sky stargazing, the kind of outing where you experience the true awe of the night sky.
Full-time traveler and amateur astronomer. I have been chasing dark skies since 2016, across all fifty states and six continents: Easter Island, Lapland, the summit air on Mauna Kea. I carry a sky quality meter and measure the places I write about.
Featured in National Geographic · Smithsonian · Travel + LeisureAlmost nobody knows this number for where they live, and it explains everything.
Sky darkness gets described on the Bortle scale, which runs from 9 down to 1. Nine is the middle of a city, where you can count the stars on two hands and the sky has an orange floor to it. One is the kind of place where the Milky Way is bright enough to cast a shadow and you can see the horizon by starlight alone.
Here is the thing that surprises people: the jump from a city to a genuinely dark site is not gradual. It is not "some more stars." Somewhere around Bortle 4 the sky stops being a black ceiling with dots on it and becomes something with depth, texture and a structure running through it.
That is where I draw the line. Bortle 4 or darker, and I would rather have 3. Below that number the sky is pleasant. At it and past it, the awe kicks up and people stop talking. It is a real threshold, not a preference, and everything else on this page is organised around getting you across it.
I do not take it on faith either. I carry a sky quality meter and measure the sites I write about, in magnitudes per square arcsecond, because a class is somebody's judgment and a reading is a number. The bands in the slider below are my own working chart — including the 4.5 step, which most published tables leave out and which is exactly where a lot of "pretty dark" places actually land.
How you knowThe Milky Way is all but invisible and the entire sky reads light grey.
Drag it. Anything left of my line is worth the drive.
Finding your own number
You can look it up before you look up. A light pollution map gives you a colour for your address and a colour for anywhere you are thinking of driving, and that is enough to build a shortlist from. I built my own because I wanted the one I would actually use.
It comes with a caveat, and it matters. The satellites behind every light pollution map, mine included, mostly see light going straight up, and they are weak on the blue-white LED lighting that has replaced everything over the last decade. A place can measure better on a map than it looks overhead. Treat a map as a shortlist and your own eyes as the verdict, which is exactly why I carry the meter.
"Drive until it gets dark" is how first nights go wrong.
The instinct is to head away from town and pull over when the sky looks good. Two things go wrong. You end up on the shoulder of a road with headlights sweeping you every four minutes, and you have no idea whether the field you just walked into belongs to somebody who will mind.
Pick the place before you leave. In rough order of how well they work:
What you want on the ground: an open view low to the south, no lights within sight, a place to park that is not a highway shoulder, and cell signal or a downloaded map so you can find your way out.
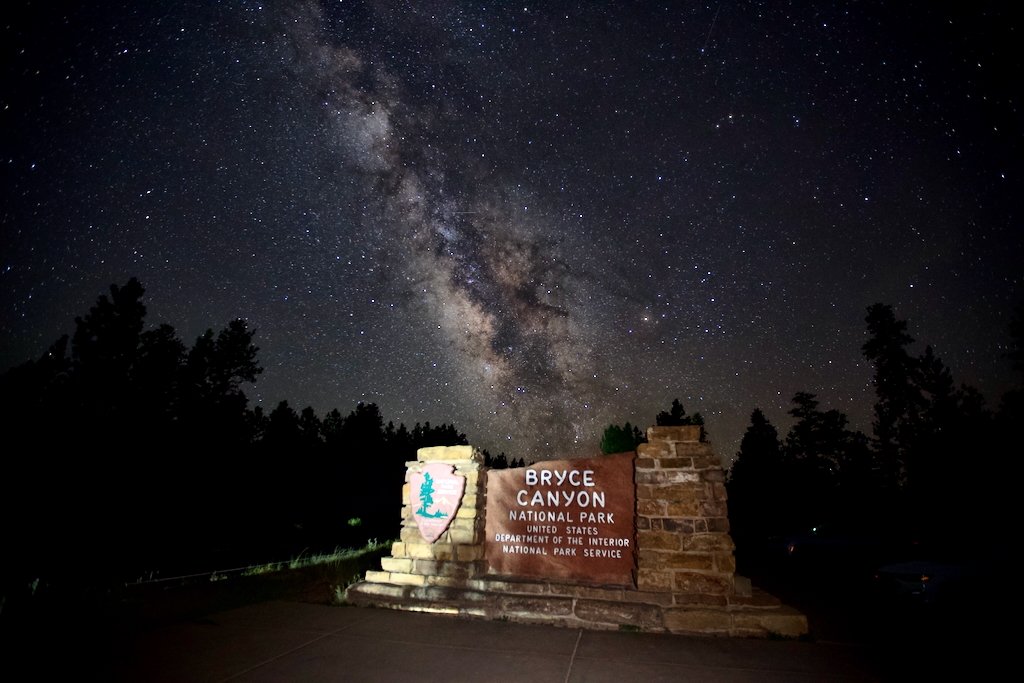
The right spot on the wrong night is an ordinary evening outdoors.
Three things decide whether a night works. Two of them you can know months ahead, down to the minute. The third you cannot know until a few days before, and it is the one that will cancel on you.
Plan around the first two. Stay flexible about the third.
Both are orbital mechanics. They are already decided, for every night of your life.
The moon comes first
A full moon is the most effective light pollution source you will ever deal with, and it is sitting in the middle of the sky you drove three hours to look at. It will erase the Milky Way from a Bortle 2 site completely. A city forty miles or sixty-five kilometres away cannot do that.
So go within three or four days either side of new moon, or pick a night when the moon is simply not up. That second option is the one people miss. A waning crescent that rises at 3am gives you the entire evening. A first-quarter moon that sets at midnight gives you the rest of the night if you are patient. Phase alone will mislead you — what matters is whether the moon is above the horizon while you are standing there.
Then true darkness
Sunset is not darkness. The sky moves through three stages of twilight afterwards, and only once the last of them — astronomical twilight — has ended is the sky as dark as it is going to get that night. At mid-latitudes that is roughly ninety minutes after the sun goes down. In northern summer it is much longer, and above about 49 degrees north it does not happen at all in June.
Put those two together and what you actually want is the overlap: the hours when the sun is far enough down and the moon is not up. That is the real window, and it is often a lot shorter than the night.
Nothing tells you this months out. You read it late, from the right sources, and you hedge.
The forecast on your phone is the wrong instrument
It is not that it is bad. It is that it was built to answer a different question. A general forecast is tuned for daytime, rain and temperature, and it hands you one number for cloud cover, averaged over a big area and a long window. None of that is the question you are asking, which is whether the sky directly above one field is clear between 10pm and 1am.
There is real research on this. A study in Monthly Notices of the Royal Astronomical Society tested the American forecast model's cloud predictions against satellite observations, specifically to find out how much observers can trust them. Three findings are worth carrying around:
The model gets total cloud cover to within about 15% on average, which sounds fine. But its layer by layer forecasts, which is where high cirrus lives, are the least reliable part of the output. And for convective cloud, the kind that builds in the afternoon and lingers, the model finds less than half of it. Even the total-cloud number decays with time: roughly three quarters of forecasts land within 30% three hours out, and fewer than six in ten do at a week.
That last figure is the one that matters if you are booking a drive on Tuesday for a Saturday night. And "layer by layer" is not a technicality, because the three layers behave nothing like each other.
Swipe the diagram →
Cirrus and its relatives, made of ice. Thin enough that a daytime forecast may still call it clear, and in the dark you cannot see it arrive — the stars just quietly get dimmer and the faint things stop being there. This is the layer that ruins a night without ever looking like weather.
Flat grey sheets and rows of cloudlets. It tends to run ahead of an approaching front, so if it is thickening at sunset the night is probably already decided. You will at least know.
Cumulus, stratus, fog. The one apps handle best and the one you can see coming. Fair-weather cumulus often dissolves after sunset as the ground stops heating. The tower on the right is convective cloud — the kind the model finds less than half of.
Drawn to a linear height scale, so the distances are honest. Cirrus is roughly seven times higher than the cumulus you would call "a cloudy day", which is a large part of why one forecast number cannot describe both.
And cloud is smaller than the map
Forecast models work on a grid. Cloud, much of the time, is smaller than one box of it, so the model does not really see individual clouds at all — it estimates how much of each box should be cloudy from the temperature and moisture it does resolve. Everything local disappears in that step. Valley fog. Cloud piling on the windward side of a ridge and vanishing on the lee side. A lake generating its own weather.
Which is why a site twenty miles or thirty kilometres from the town in the forecast can have a completely different night, and why "the forecast said clear" is the most common sentence in a disappointed observer's mouth.
Use a forecast built for this
Astronomy forecasts do three things a general one does not. They split cloud into low, middle and high, so you can see the cirrus coming. They run hour by hour rather than by day. And they report transparency and seeing as separate numbers.
Transparency and seeing are not the same, and they fight
Transparency is how much the atmosphere absorbs on the way through: humidity, dust, smoke. It decides whether you can see faint things at all, so for the Milky Way and everything else on this page, transparency is the number you care about.
Seeing is turbulence — how much the air is churning, and therefore how steady a magnified image sits. It matters for planets through a telescope and matters almost not at all to your eyes on a wide dark sky.
Here is the part that surprises people, and it is the reason a single "good night" score would be lying to you: the two often move in opposite directions. The crisp, cold night behind a front that gives you superb transparency is usually a turbulent one with mediocre seeing. The calm, stable, hazy night with beautiful steady seeing is often the one where the Milky Way looks washed out. You do not get to want both.
What actually works
Read more than one model. When two forecasts disagree about Saturday, that disagreement is the forecast — it means nobody knows yet, and you should be holding a second night. When they agree, you can believe them a little more.
Then plan around the uncertainty rather than trying to beat it. Pick your dark window first, then hold two nights inside it instead of one. Back to back if you can. A second night costs almost nothing at the planning stage and roughly doubles your odds, and everybody who observes regularly does this without thinking about it.
None of this is difficult. It is just fiddly, and it is four different sources on the Thursday before, read against terrain you may not know. That part is most of what I actually do for people.
And dress for standing still. Two motionless hours in the dark is colder than the number suggests, and 50°F or 10°C feels like winter when you are not moving.
Moon phase and moonset, the twilight window, four forecasts read against terrain you may not know, a site that is actually dark, and a backup night. That is an evening of work if you have never done it, and about an hour if you have done it a few hundred times.
Plan my dark sky trip — from $150One specific place, one specific night, the hour to be there and what you will be looking at. Delivered within 10 days.
The most common first-timer mistake is buying too much equipment and using none of it.
A telescope shows you a small, magnified circle of sky and demands that you know where to point it. On your first dark night you do not want a small circle. You want the whole sky at once, because the whole sky at once is the thing you came for.
Almost everyone who says "it wasn't that impressive" left before this happened.
Your eyes have two systems. The one you use all day is fast, sharp and sees color. The one that sees in the dark is slow, colorless, and far more sensitive — and it takes time to switch on. Most of the improvement arrives in the first twenty minutes. It keeps going for another twenty or thirty after that.
So arrive while it is still light, get set up, and then simply stay in the dark. Do not check your phone. One glance at a white screen and you are close to starting over. If you must use a screen, red light only, dimmest setting, and pointed at the ground.
The reward is a sky that keeps arriving. Ten minutes in, you have a nice sky. Thirty minutes in, the Milky Way has a spine and dark lanes running through it. Forty minutes in, you start seeing things at the edge of vision that vanish when you look straight at them.
Watch it happen, and then find out what a light costs you.
What you can seeA few dozen stars, and that is all.
Now hit it with a light
That is the whole reason for the red flashlight, and the whole reason not to check your phone. Red light barely registers. One careless click of a white headlamp costs you most of an hour you already spent standing in the cold.
Learn averted vision on night one
The center of your retina is nearly blind in the dark. The sensitive cells sit off to the side. So when you want to see something faint, look slightly beside it rather than at it. Faint galaxies and nebulae jump into existence when you do this and disappear when you look straight on. It feels like a trick. It is just anatomy, and it is the most useful thing a beginner can learn.
Under a truly dark sky the problem is not finding something. It is the opposite.
Here is a strange thing nobody warns you about: a genuinely dark sky can be disorienting. The constellations you know are buried in thousands of stars you have never seen. People who can find the Big Dipper from their driveway lose it entirely at Bortle 2. That is not a failure. That is the point.
Start with the biggest things and work down.
| What | How to find it | When |
|---|---|---|
| The Milky Way | A pale band arching across the whole sky. From a dark site the bright bulge toward Sagittarius is unmistakable, and a dark channel called the Great Rift splits the band lengthwise. | Late spring to early autumn |
| The Andromeda Galaxy | A faint smudge to the naked eye, an obvious oval in binoculars. Two and a half million light-years away, and the furthest thing most people ever see without equipment. | Autumn and winter |
| The Pleiades | A tight little dipper-shaped knot of blue stars. Six to the eye, dozens in binoculars, and one of the few sights that looks better in binoculars than in a telescope. | Autumn and winter |
| The Orion Nebula | The middle "star" of Orion's sword is not a star. In binoculars it is a smudge of glowing gas; it is a nursery where stars are being made right now. | Winter |
| Satellites and the ISS | Steady points of light drifting across in a straight line, brightest in the hour or two after dusk. The station is the brightest of them and moves fast enough to watch. | Any clear night |
| A meteor | You do not look for these; you catch them. Under a dark sky you will see several an hour on an ordinary night, and far more during a shower. | Any clear night |
One more thing worth doing on a first night, because it reframes everything else you are looking at. Every star you can see is at a different distance, and the light hitting your eye left each one at a different moment in history. Some of it left before you were born.
Optional. And genuinely optional — the night is better if you spend most of it looking up rather than down at a screen.
A recent phone in night mode, propped against something solid so it cannot move, will pull the Milky Way out of a dark sky. It will not be a great photo. It will absolutely be a photo that makes somebody say "wait, you saw that?"
A camera with manual controls on a tripod does considerably better. The starting point is the widest lens you own, the aperture all the way open, ISO somewhere around 3200, and a shutter long enough to gather light but short enough that the stars stay round — for a wide lens that is usually somewhere between ten and twenty seconds. Focus manually on a bright star, at maximum magnification on the screen, and check it after your first frame. Autofocus will not work and soft focus ruins everything.
If you want the deep-sky objects rather than the landscape, that is where a smart telescope comes in — you set it on the ground, tell it what to look at from your phone, and it stacks its own images while you carry on looking up with your own eyes. Which is the right order.
Whatever you shoot, take five minutes at some point in the night with no camera, no phone and no plan. Lie back and let it be enormous. That is the part you will actually be describing to people in ten years.
Every photo below is one of mine, taken on an ordinary night from somewhere you can legally stand.
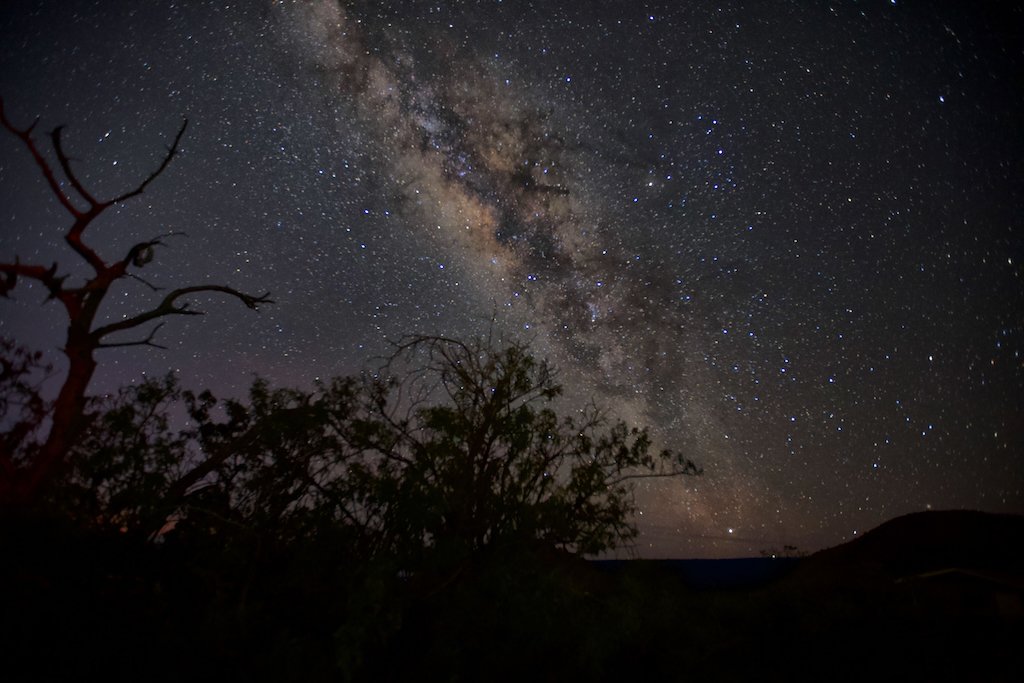
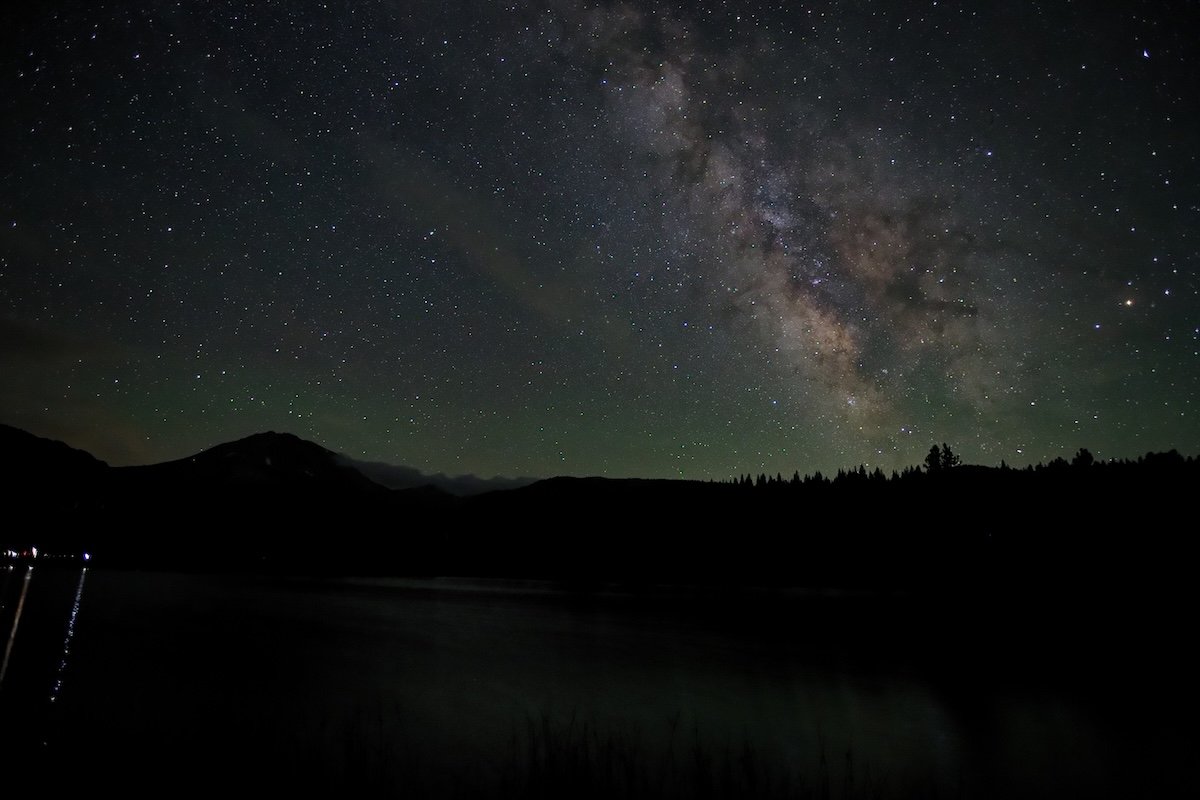
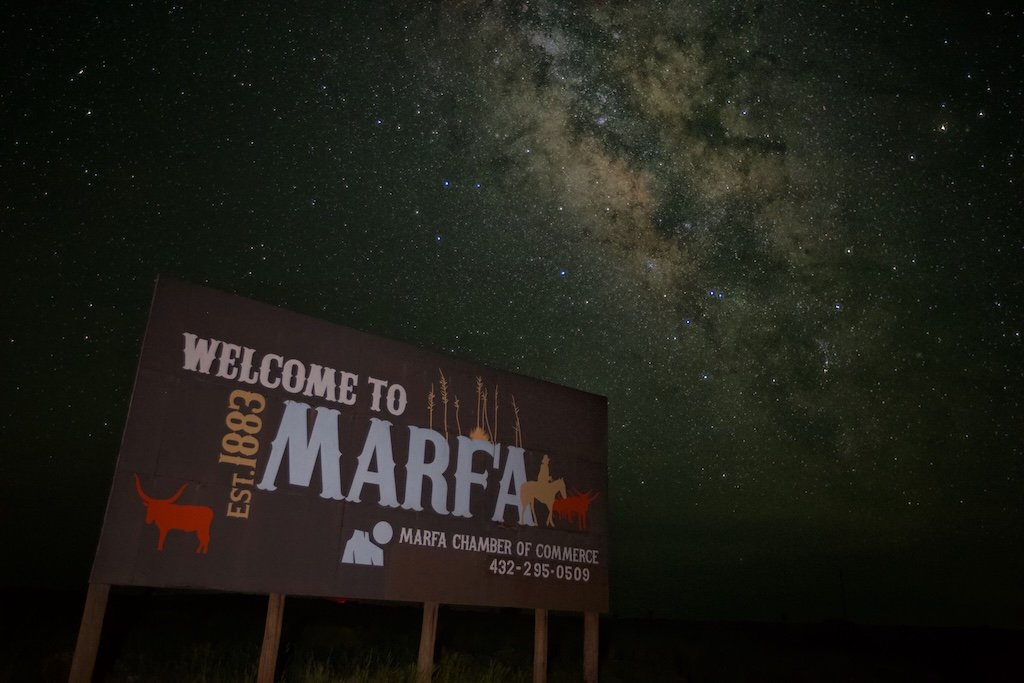
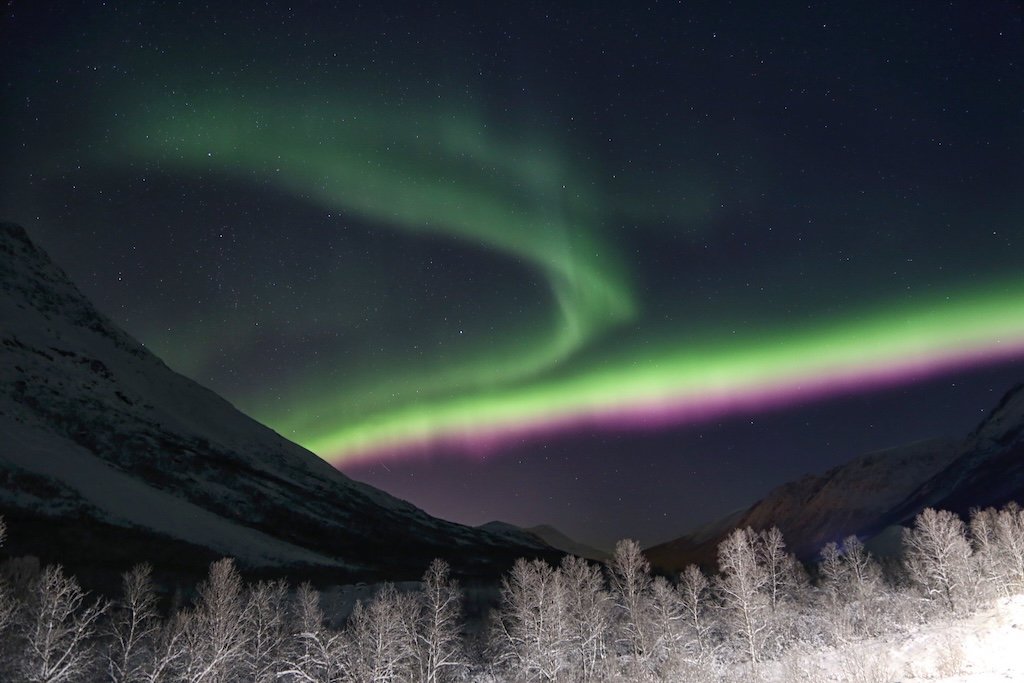
There is a specific silence that happens when somebody sees a real dark sky for the first time. It is worth engineering.
Awe is one of the few experiences that gets bigger when it is shared. Standing under the Milky Way by yourself is remarkable. Standing under it next to somebody who has never seen it, and hearing them stop talking mid-sentence, is a different thing entirely, and it is the version people still bring up years later.
So pick someone. A parent who grew up with darker skies than their grandchildren will ever see. A friend who needs a night that has nothing to do with work. Your kid, who has genuinely never seen the Milky Way and does not know that is unusual.
Make them an invitation. Put their name in, put yours in, add a line if you want one. You get a link that opens to their name and your note, and you send it the way you already talk to them — text, WhatsApp, wherever. Nothing is sent from here and I never see their address.
Send it to them however you like.
That is the whole method. If you would rather not work out the moon, the weather window and the drive yourself, that part is what I do for a living.
Have your trip planned Get the DispatchA trip plan is $150. The Dispatch is free: real sky-quality readings and the best night to look up each month.