This post contains affiliate links. As an Amazon Associate I earn from qualifying purchases. If you click a link and make a purchase, I may receive a small commission at no extra cost to you.
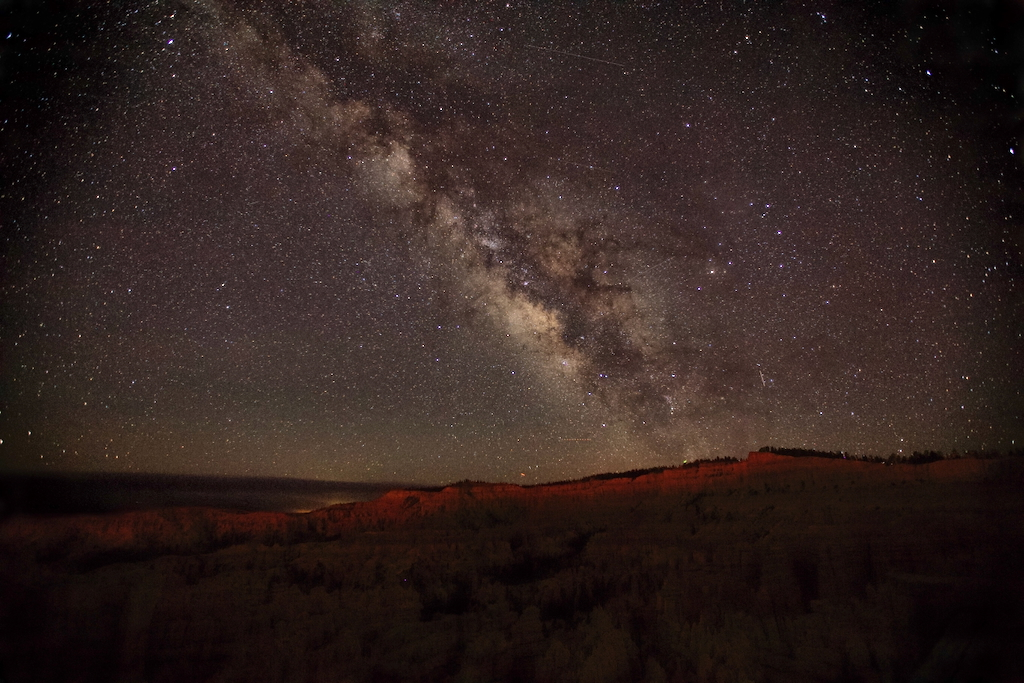
There’s a moment that happens to almost every astronomer at some point — you drive away from the city lights, step out of the car, look up, and just stop. The sky you’ve been staring at your whole life suddenly looks completely different. More stars than you’ve ever seen. Structure in the Milky Way. A cosmic silence that makes it all feel bigger. That moment is worth chasing. But chasing it well takes a little planning.
Here’s what I think about when I’m picking a dark sky destination.
It Should Be a Noticeable Upgrade From Where You Are
This one is more personal than people realize. The Bortle scale runs from 1 to 9, and where you need to go depends entirely on where you’re starting.
If you’re living under a Bortle 9 sky — deep in a city — going down one zone likely isn’t going to be that noticeable. You’d go from “I can see the moon and three stars” to “I can see the moon and four stars.” Instead, you’re probably going to want to drop several zones before the difference really hits you.
If you’re already in a Bortle 5 or 6, moving down to a 4 can feel like a completely different universe. And for someone already at a 4, a darker pocket of a Bortle 3 might honestly be all they need.
The point is: don’t just blindly chase a number on a Bortle map.
Think about what’s going to actually feel like a transformation for you specifically. What kind of Messier objects will you be able to see for the first time? How much more detail will you see in the objects you’re familiar with?

The Trip Should Be Worth It
Distance and duration are worth thinking through before you commit to a route. Driving eight hours for one potentially cloudy night is a gamble — and not always a fun one. I’ve done it chasing the aurora before and sometimes it pays off, but I’ve also sat under an overcast sky wondering what I was thinking.
Here’s the thing: Bortle zones are only part of the equation. Atmospheric transparency, humidity, and clouds can completely change what a night delivers, regardless of what the light pollution map says. So when you’re planning, think about your odds holistically.
Ideally, if you can swing three nights minimum, do it. You give yourself a real buffer for at least one great night. Go longer if you can. And if you’re bringing a telescope, you also get to explore both the evening and morning sky across different nights — which is honestly one of the best parts. You start to feel like you’re actually living under the stars instead of just visiting.
Make Sure You Can Actually Get There
Accessibility sounds obvious, but it’s easy to overlook when you’re zooming around on a dark sky map at midnight getting excited.
Let’s start with something that doesn’t get talked about enough: finding a safe place to actually pull over and set up.
It sounds simple until you’re out there at midnight realizing the only spots available are tight road shoulders with cars blowing past you at highway speed. Before you go, spend some time on Google Maps or satellite view scouting for wide pull-outs, small lots, or open areas where you can get well off the road. Avoid anything too close to a highway, and double-check that you’re not accidentally setting up on private property. People who live in dark sky areas are often very serious about their property boundaries.
Paved roads are ideal.
A well-maintained dirt road is usually fine too. But if your only route in is a rough, rutted trail — and you’re hauling a large Newtonian reflector — you’re very likely going to need to collimate it once you arrive. For experienced observers, that’s no big deal. For beginners, it adds a layer of frustration right at the start of your night that you just don’t need.
Check the road conditions before you go. A little research goes a long way.
Safety First — Always
Sparsely populated, dark, remote areas are exactly what we’re looking for. They’re also places where you genuinely don’t always know what you’re going to encounter — whether that’s wildlife or other people.
Do some research on the area before you head out. Read recent trip reports. Know whether bears, mountain lions, or other animals are active in that region. Let someone know where you’re going and when you expect to be back. And honestly? It’s not a bad idea to have some kind of self-defense option on you — even something as simple as bear spray. You don’t need to be paranoid about it, just prepared. Common sense goes a long way out here.
Plan Something for the Daytime
This one doesn’t always come up in astronomy planning conversations, but it should.
When you’re traveling to a dark sky location, the hours between sunrise and sunset can feel like a lot of waiting around. Having something to do — a hike, a nearby town to explore, a good meal somewhere — makes the whole trip feel more like an adventure and less like a stakeout.
That said, there’s a balance to strike. If you plan on spending serious time under the stars, don’t exhaust yourself during the day. A brutal hike followed by an observing session is a recipe for falling asleep in your camp chair by 10 PM. Build your days with a little intention and you’ll thank yourself when the sky opens up later.

Watch the Moon
This one catches a lot of people off guard the first time. You can drive out to a genuinely dark sky — Bortle 2, perfect conditions — and still feel underwhelmed if you show up on or near a full moon. The moon is the original light polluter, and it doesn’t care how far you drove.
A full moon can wash out faint nebulae, dim galaxies, and the Milky Way itself in a way that makes even a dark sky feel disappointing. The sweet spot for dark sky trips is within a few days of a new moon, when the moon either isn’t up or rises so late it barely matters.
Before you book anything, pull up a moon phase calendar and plan around it. It takes about thirty seconds and it can be the difference between a night that blows your mind and one that leaves you wondering what all the fuss was about.
Think About Your Horizon
Not all dark sky spots are created equal when it comes to what you can actually see from them. A technically dark location at the bottom of a valley, surrounded by treelines and ridges, can cut off significant portions of the sky — and you may not realize it until you’re already there.
For visual observing, a restricted horizon is an annoyance. You might miss out on low-hanging planets or constellations that sit close to the horizon at certain times of year. For astrophotography, it can be a trip-killer if the target you planned to shoot rises just above the treeline and disappears behind a hill before you get your shot.
When you’re scouting a location, look for open, elevated ground with a wide unobstructed view — especially to the south if you’re in the northern hemisphere, since that’s where a large portion of interesting sky real estate lives. Google Earth and apps like PhotoPills can help you visualize the horizon before you even leave the house.
Higher Elevation Is Usually Better — But Come Prepared
Altitude is one of those factors that doesn’t get talked about enough. The higher you go, the less atmosphere you’re looking through, which generally means better transparency, less turbulence, and a sky that can feel noticeably crisper and deeper than one at sea level. Mountain observatories aren’t built at altitude for the views — it genuinely improves what you see.
That said, elevation comes with a trade-off that’s easy to underestimate: it gets cold. Even in summer, temperatures at high elevation can drop dramatically after sunset, and when you’re standing still in the dark for hours, you feel every degree of it. Nights that start comfortable can turn into a serious chill by 2 AM.
If you’re heading somewhere with significant elevation, dress in layers, bring more than you think you need, and don’t forget gloves — operating a focuser or a camera with numb fingers is not fun. A thermos of something hot is never a bad idea either. The sky might be worth every shiver, but there’s no reason to be miserable while you’re enjoying it.
Consider a Designated Dark Sky Park
If you’re not sure where to start, designated dark sky parks and preserves are a fantastic first stop. Organizations like the International Dark-Sky Association (IDA) certify specific locations around the world that meet strict standards for low light pollution and a commitment to keeping it that way. These aren’t just random fields someone put on a map — they’ve been evaluated, they’re often maintained, and they’re specifically intended for people who want to experience the night sky.
To find one near you, head to the IDA’s website at darksky.org and use their Places finder. You can search by country or region and see a list of certified parks, reserves, and sanctuaries with details on each. Some have visitor programs, star parties, or even ranger-led nights. In the US, places like Cherry Springs State Park in Pennsylvania and the McDonald Observatory in Texas are excellent examples of what a well-run dark sky destination can look and feel like.
Starting at a designated site is a smart move, especially if you’re new to this. The infrastructure, the community, and the knowledge that the sky is legitimately dark removes a lot of guesswork and lets you focus on what you actually came for.
Get started in astronomy
If this has you fired up to get out under a dark sky, the next step is making sure you have the right telescope to bring with you. Not sure where to start? I put together a free PDF telescope cheat sheet that breaks down exactly which scope might be right for you, the specs that actually matter, and how to figure out your budget. Grab it— it’ll save you a lot of second-guessing before your first real dark sky night.